After floodwater recedes, cleanup and documentation can compete for attention. A clear record helps explain what happened without turning every conversation into a search through scattered photographs. Begin with safety and your insurer’s instructions, then organize evidence in a way that connects each image to a room or item.
The National Flood Insurance Program’s claims checklist says not to reenter until the property is safe. It also notes that a claim can be started before returning. Taking photographs is not a reason to enter a building that authorities have restricted or that presents unresolved hazards.
Start a simple recovery file
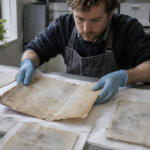
Create one folder for the event, then separate photographs, item lists, communications and receipts. Keep the original images and give working copies descriptive names. A consistent room label helps connect the wide view, the damaged object and the related paperwork without relying on memory.
Record the date of each observation and who provided information. If a condition was reported by a contractor rather than something you personally saw, identify it that way. The distinction helps preserve an accurate account as the project moves from initial cleanup to repairs.
Photograph context as well as details
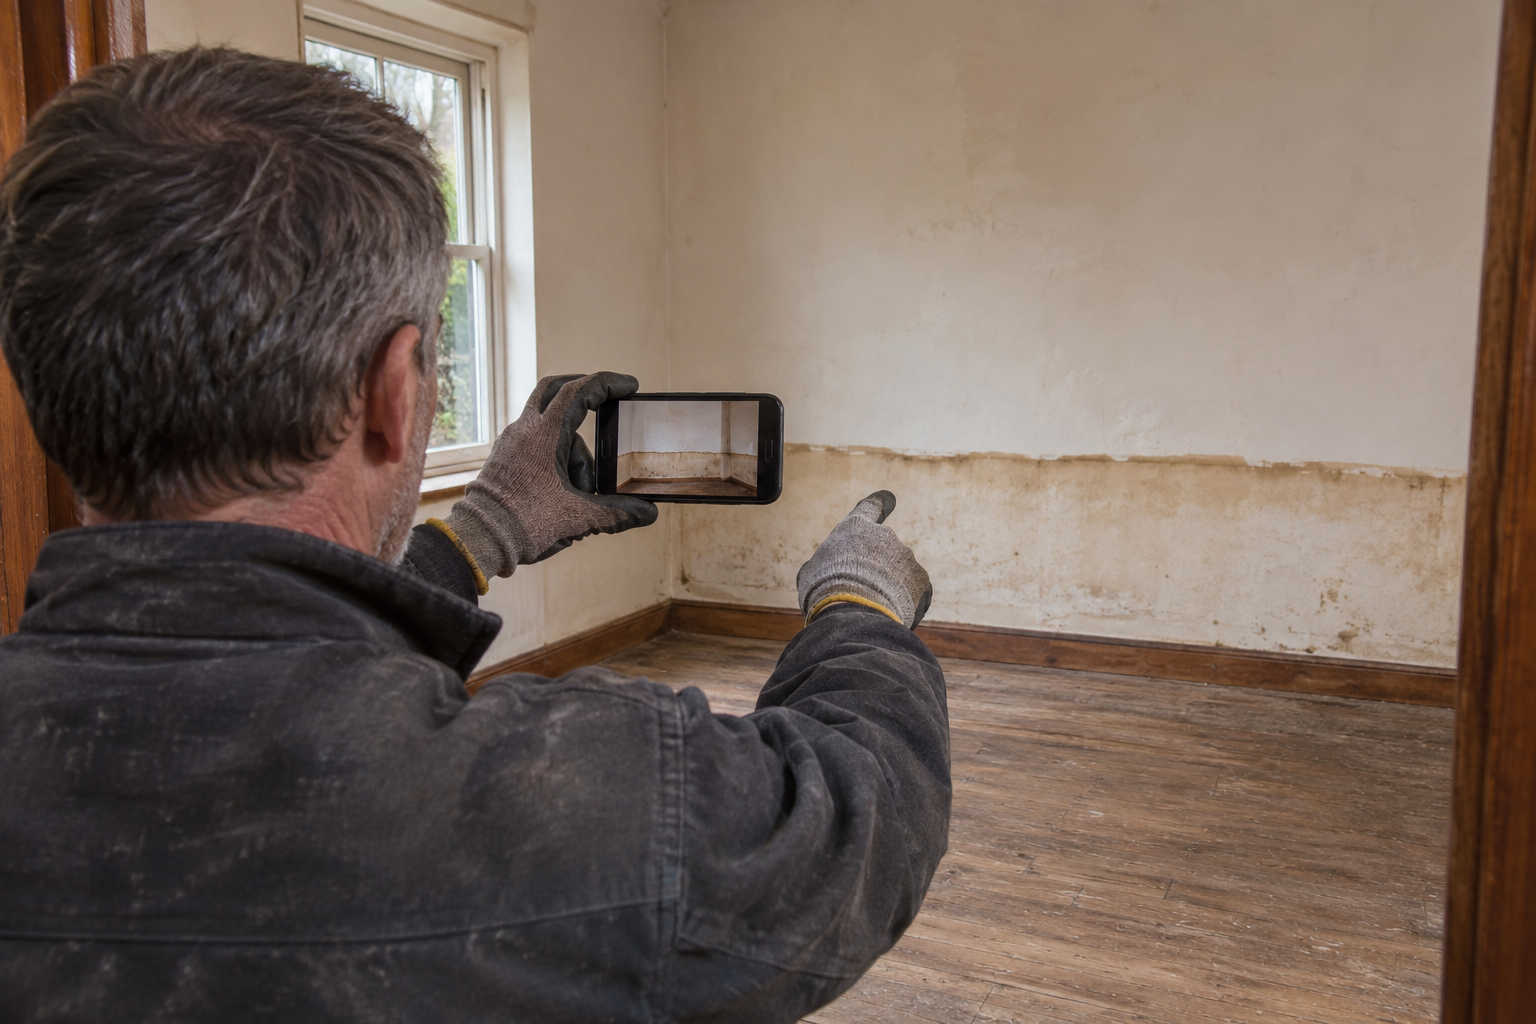
NFIP’s flood recovery guidance recommends documenting damage before cleaning up. When safe, begin with a view that establishes the room, then capture closer details. Include visible waterlines and the relationship between damaged materials, rather than collecting only isolated close-ups that are hard to place later.
For an appliance or other identifiable item, photograph the damage and its identification information if safely accessible. Keep an item list beside the images. Add available purchase records or other supporting documents, and clearly mark information that is approximate instead of presenting an estimate as a confirmed fact.
Coordinate disposal and cleanup
Ask the insurer what documentation it needs before items are discarded. NFIP’s checklist generally calls for adjuster inspection before disposal, with exceptions for health hazards or local requirements. Discuss the specific situation; do not keep hazardous debris solely because you are waiting for an appointment.
Keep a separate log of conversations, including dates, names and the next action agreed upon. Save cleanup invoices and repair receipts together. Documentation helps explain an expense, but it does not establish that the policy covers it. Ask the insurer to explain applicable coverage and requirements directly.
Before sharing the folder, review its contents. Send the relevant records through the channel your insurer or contractor specifies, and retain your own copy. Keep unrelated personal documents outside the shared collection. A useful recovery file makes the property history understandable without exposing unnecessary household information.
Keep the record current
Continue photographing changes during recovery, especially conditions uncovered after initial access. Link each new image to the original room or item record. Preserve earlier versions so the file shows the sequence, rather than replacing the initial condition with the finished repair.
NDR’s flood damage resources provide additional recovery context, and its state business directory can help locate potential service contacts. Verify qualifications and scope directly. An orderly record supports informed conversations while keeping safety, timely communication and responsible recovery work at the center of the process.
Source notes
Published Nov. 4, 2026. Primary guidance and NDR reference links checked for this article. Original NDR editorial synthesis; illustrative exercises are suggestions, not reports of actual events.